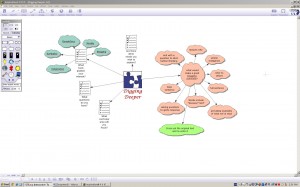
How to Develop Blog Writing: Brainstorm Session
Sometimes our questions may be “how do we start our classes blogging past the basics?”. Here is one way that may help to introduce the students to the idea of commenting. (We did this at our recent SCIT gathering.) This starts in the classroom with good questions.
- Record some questions or statements on slips of paper. Give the students, scratch pads of paper (I use recycled paper from the recycle bin) that they can scribble thoughts/comments. (*Using small scraps of paper help those students who may not enjoy writing or have difficulties with writing.)
- Read the questions aloud; then tape them up on the walls around the classroom.
- Have the students do a GALLERY WALK to read the questions and discuss some that interested
 them enough to comment. They do not have to comment on every question.
 - Students record their comments on the strips of paper and tape it under the questions.
Building Criteria and Chances to ‘Redo’
(This is an opportunity to include collaboratively built criteria and engage in self assessment.)
- As a class, brainstorm what elements would have to be included to create a comment that is detailed enough for others to understand. (*Writing is all about communication.)
- Use Inspiration program and a Brightlinks/Smartboard (if you have access) to take the notes. The tool – Rapid Fire within Inspiration can aid in the interactive process. (Invite students to articulate their thinking.)
- Use colour coding to group thinking.
- Have students return to the wall questions and select one-two comments that they wish to add more details/change/edit… Students use a different coloured pen or marker to add/change/edit/re-write. They may wish to refer to the brainstorm web. (They may also wish to ask a ‘walk-about partner’ for help in adding vocabulary to make it clearer.) Repost these onto the wall as examples. The use of colours clearly separates “off the top of head” writing and writing that is expanded.
- Discuss how this is like blog commenting – developing written or even oral comments that is clear and detailed takes practice. If the questions allow for further deepening, have students research or find other texts that support their comment.
- Reflect how using a criteria helps with the end result.
Capturing the flow of learning for web retrieval or for students who were away:
- Using the Brightlinks or Smartboard, one can mark the screen, use the camera tool to capture it (jpg) and upload to your blog.
- If you don’t have an interactive projector, simply use a digital camera and upload the jpg image to your blog.
Connecting Journey
Questions to consider in the connecting process:
- How does the tool support or enhance the learning process?
- How does it meet the needs of all learners? (Think about your class.)
- How do you plan to address the management of technology in your teaching environment?
