
Hello Learning Tech followers,
We appreciate your participation with following this blog site over the years. We hope that this site has been a source of inspiration as well as information about teaching with technology. We welcome and encourage you to continue to visit this site to access our archive of learning technology resources. Please note, information on this site is no longer being updated and may not be current.
Moving forward, the Education Technology Team will be posting learning resources, tutorials, and training documentation in the Burnaby Learning Community Team, and on the BLC SharePoint Site. These resources are accessible to Burnaby School District Staff.
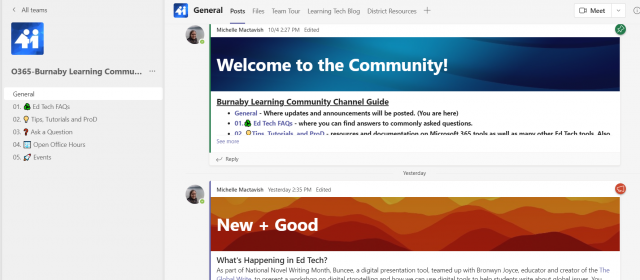
By joining the BLC Team, you have access to all our documentation, videos and learning resources, as well as the ability to crowd source information about teaching with technology!
Questions about the BLC? Please get in touch with Lucky or Michelle.
With much gratitude,
The Ed Tech Team