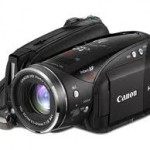
 Okay, I was quite excited to use the Canon Vixia HV30 HDV the other day to tape the “Janet Series” because it creates quality video in HD and it picks up voice(s) extremely well without having to rely on a mobile mic. Kidding aside, we are trying to splice together an instructional series on Lit Circles for teachers to review. If you are venturing to use a video camera, please note the challenges. My goal is to create FLV files so that these video clips can be easily viewed on our blog.
Here are the steps I used to make this media viable:
1. Connecting my Canon via Firewire IEEE (4pin to 4pin) to my Laptop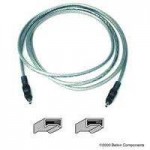
Troubleshooting: What happens when you connect these devices, but the laptop does not recognize the camera when you click on My Computer?
Try This:
- Right Click on My Computer
- Click on Hardware Tab
- Click Device Manager
- Check to see if IEEE shows up.
- If not, Click on Action, Scan for New Hardware Changes. This should pick up the device. I know this sounds really techie, so feel free to ask the Learning Technologies Resource Teacher for help or some of your very techie students. Although I followed all these steps, the video camera was still not visible in My Computer. My Video expert guy, Lucky, directed me to download Video Capture Software HDV Split shown below.
2. Download HDV Split and Run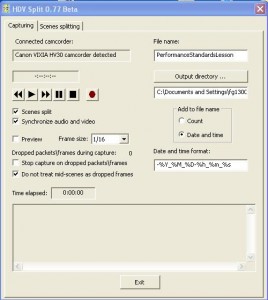 – does not require a reboot
- Notice that the Canon is detected
- I’ve selected Scenes Split to be able to manage smaller files
- Provide a Logical File Name
- Provide an Output Directory
- Start to play the video first, then click the Record button in the program.
- This will create a m2t file (If the program asks you to index, click OK)
3. Download Avidemux and Run
This program will convert the “m2t file” to “avi” so that I am able to edit the video in Movie Maker (free in XP and better in Windows 7)
- Click on Video and select MPEG-4 ASP (Xvid)
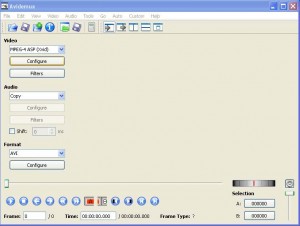
- How do I know which one to select. Again, I trust my go to person who has a better understanding of encoders and compressors. I just want one that works! What I do understand is that everytime a video moves from one format to another, quality is compromised. Right now I am try to keep the best quality until I am ready to compress into FLV format for final viewing.
- A POP UP will appear “This looks like mpeg. Do you want to index it?”, Click Yes and allow it to Index
- Click File, Save Video, change the filename and add “.avi” to the end.
- Click Save and let the Encoding Process take place (note: This is will take quite a bit of time depending on the size of video – Go grab a cup of java or leave the machine)
4. To edit the video, Import it using Movie Maker. Drag into the timeline and edit. File, Save Movie, Select DV-AVI format or WMV. Please search our blog for documentation on how to use Movie Maker.
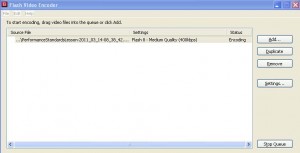
5. Now I need to convert my “avi file” to FLV using Adobe Flash CS3 Encoder (You may need to download)
- Click File, Open
- Locate the video file
- Start Queue
- (You will need to leave the machine to process the file) My 250 MB file took approx. 1.5 hours to process.
6. Now I am ready to reference or embed the FLV video.
Since space is a premium, if possible, store the video externally. 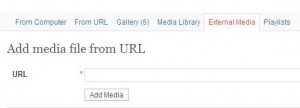
- To insert the code, Click Media
- Click the Media Tab
- Type the URL of the external site
- Click Add Media
For very small videos, you can upload them into your blog. Click on Insert JW Player. Code will appear in your post, but when it is in view mode, a video screen will appear ready to launch the show.
[jwplayer config=”LearningTech Player” mediaid=”1810″]
In Summary:
-
understand the video camera
-
identify video file types and sizes
-
learn to use external storage devices because file space is a premium
-
know how to convert file types for different purposes
-
learn to edit in camera which will save you time or use a program to edit
-
learn to store video and reference it
